

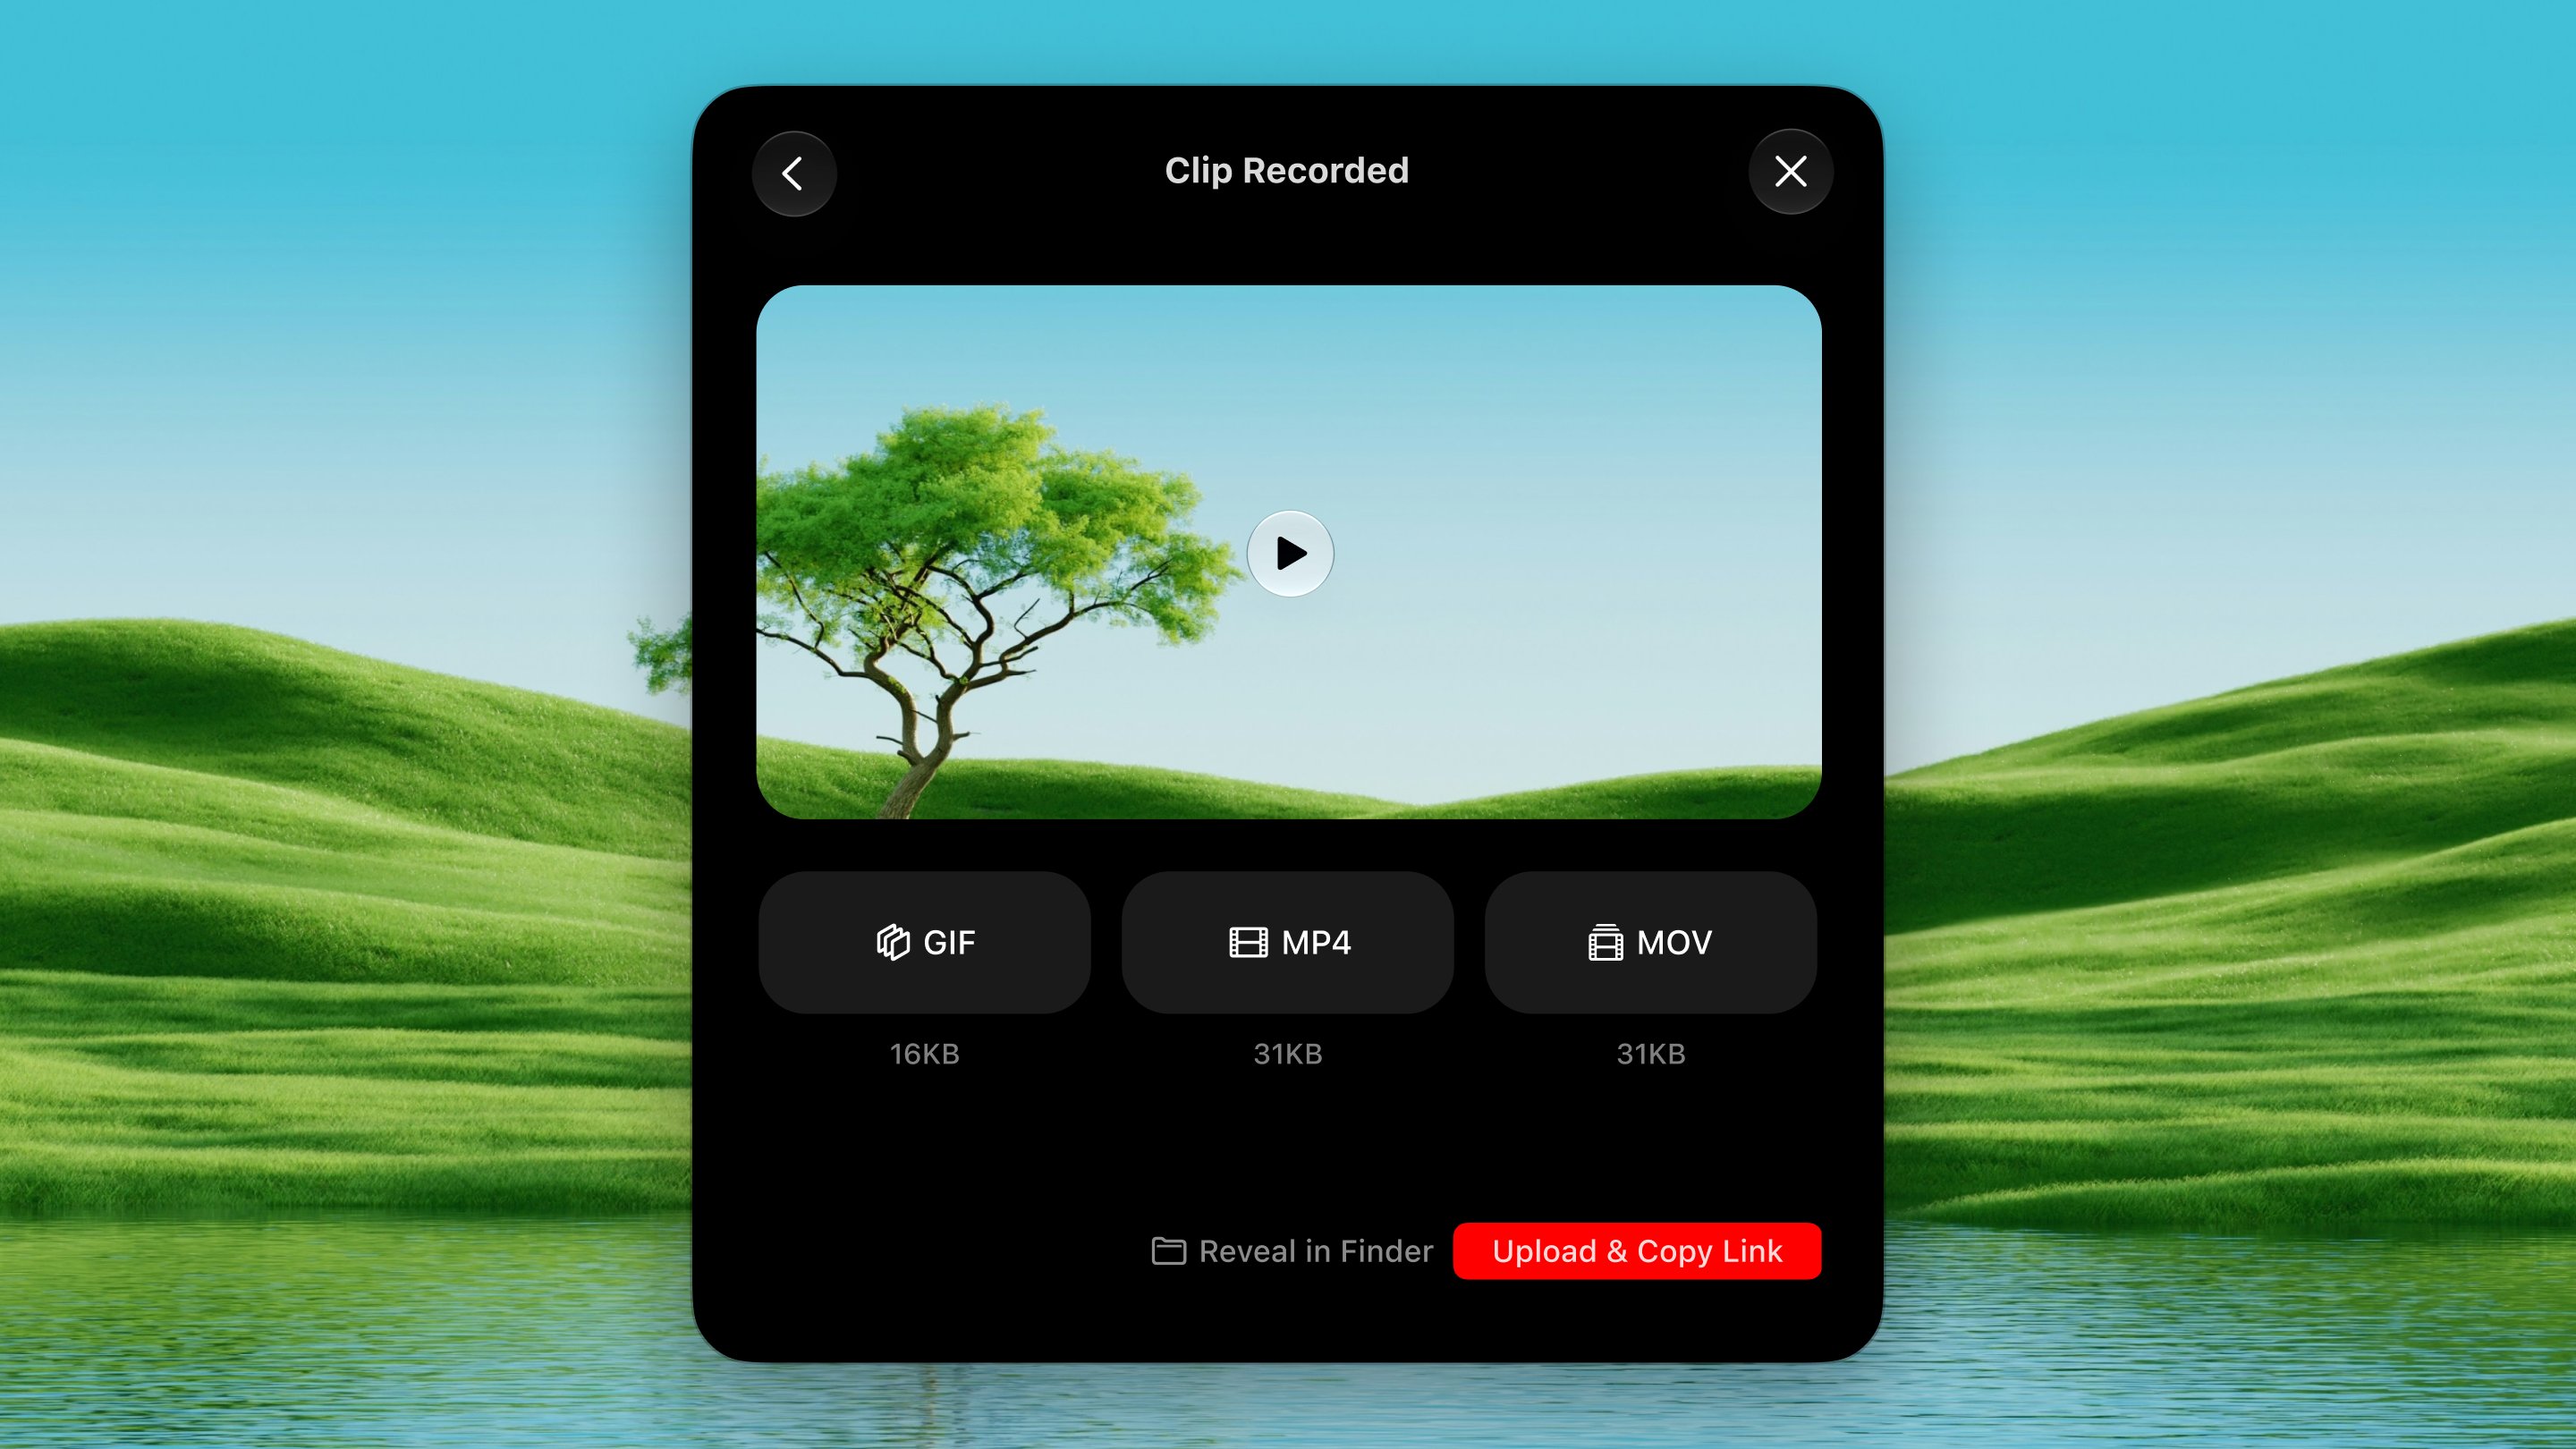
Open it
Press ⌃ ⌥ ; from any app.How it works
1
Draw a region
A crosshair appears. Drag a box around the part of the screen you want to
record.
2
Record
Recording starts immediately. Click or press the shortcut again to stop.
3
Get the link
The clip uploads and the shareable link lands on your clipboard. Paste it
anywhere.
Format
Choose between GIF, MP4, and MOV. The format you used last is the one Dax offers next.- GIF: plays everywhere, no player needed. Best for short UI demos.
- MP4: smaller files, better quality. Good for longer recordings.
- MOV: highest quality. Includes sound.
Frame rate
15 and 30 fps are available. Frames divide the capture rate evenly so none are dropped unevenly.What makes it different
- GIFs move at the speed they were recorded. Frames carry their original timestamps, so a pause is a pause and a fast bit is fast.
- Clips have sound (MOV format).
- MOV shows its size before you send it.
- A format you’ve uploaded keeps its link. Re-recording doesn’t lose the previous clip.